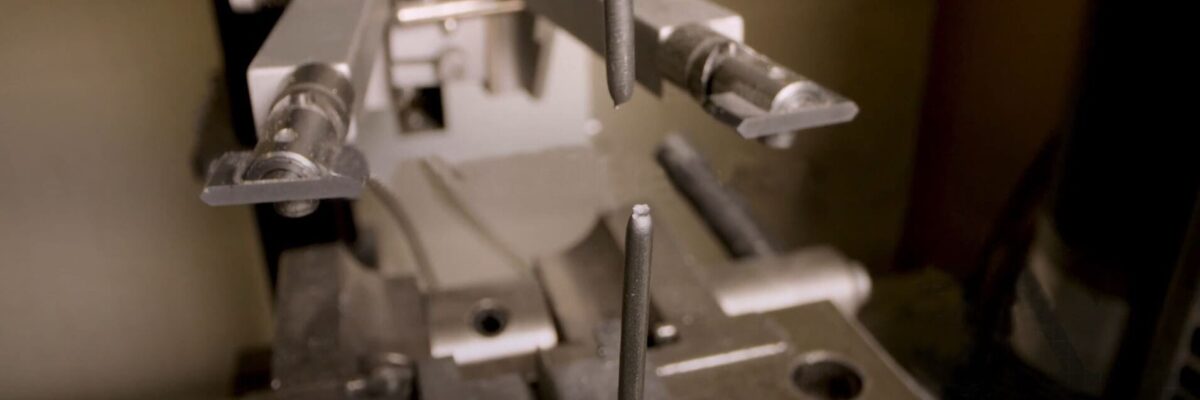
In the world of manufacturing, with high stakes and low margins for error, utilizing techniques like Fluorescent Penetrant Inspection (FPI) and Nondestructive Testing (NDT) is not just beneficial—it’s essential.
These advanced testing methods provide a critical safety net, ensuring the quality, durability, and effectiveness of materials in manufacturing without compromising the integrity of the material. There are many methods of NDT which can test a variety of materials being used in various products and industries.
Continue reading for more information on NDT, specifically Fluorescent Penetrant Inspection and its extensive list of advantages! Of the many NDT methods, Inspektion mit fluoreszierendem Eindringmittel has distinct advantages.
Understanding the differences between Nondestructive and Destructive Testing is critical to ensuring your processes are aligned properly, delivered with integrity.
What is Nondestructive Testing?

Nondestructive Testing (NDT) is a group of quality control examination processes used in various mission-critical industries. From aerospace to medical, evaluating materials without compromising the structural integrity, before they go into end-use, is vital. These tests can find potential defects that are impossible to notice with the naked eye. Some examples of NDT are:
- Ultrasonic Testing
- Radiographic Testing
- Magnetic Particle Testing
- Fluorescent Penetrant Inspection (sometimes called Liquid Penetrant Testing)
- Eddy-Current Testing
- Visual Testing
NDT typically relies on sound waves, radiation, light, and other signal conversions to examine products and their defects, rather than testing the product to the point of destruction. Generally, these tests are used in pre-production but can also test components already in operation to spot any early signs of degradation and to prevent incumbent equipment failure.
Why Choose Nondestructive Testing over Destructive Testing?
Destructive Testing tests the physical properties of an object to its point of failure, finding out at what point a product will deform or be destroyed. Some examples of DT include:
- Impact Testing
- Stress Testing
- Pressure Testing
- Tensile Testing
DT is used to ensure item quality before mass production. Often, products will be cut open and examined, or tested to their point of destruction. Although these tests may be effective, they are also often expensive and wasteful.

How to avoid unnecessary cost absorption through waste resulting from testing environments?
To avoid wasting materials, and to still test for degradation and defects, one may consider NDT as the better choice.
NDT allows for cost-effective and time-sensitive material testing, while causing no damage to the specimen being tested.
How are Manufacturing Defects Found?
Defects are found in the initial stages of manufacturing and the product can still be used in operation as it remains physically intact. The safety of employees is also greater through NDT as there are no hazardous procedures or creation of debris.
While DT testing is adept at pinpointing material failure modes, NDT brings a refined touch to uncovering even the most subtle irregularities in products of varying shapes and sizes. The efficiency, safety and convenience of NDT make the choice easy! One of the most common and effective types of NDT is Fluorescent Penetrant Inspection (FPI)!
How does Fluorescent Penetrant Inspection (FPI) Work?

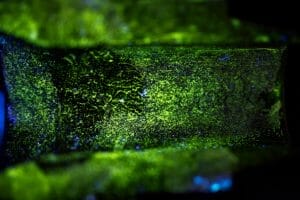
FPI testing is a method of nondestructive testing used on non-porous materials like metals and plastics to discover defects such as leaks and cracks. The testing process involves a fluorescent chemical being applied to a product’s surface, before an ultraviolet (UV) light is shone on the product. The solution creates a contrast between the smooth surface of the product and any imperfections. The steps to conducting FPI testing are as follows:
- Initial Cleaning (clean the material or surface being inspected)
- Penetrant Application (apply the penetrant by dipping, spraying, or brushing and allow “dwell time” of about 30 minutes for the penetrant to wet the surface of the material)
- Excess Penetrant Removal (remove any excess penetrant before testing)
- Developer Application (A developer is applied to pull the penetrant back out of a defect to the surface, for the defect to be seen by an inspector)
- Inspection (inspect the material under UV light to look for any cracks or irregularities)
- Final Cleaning (clean the material and document results of testing)
During the rigorous grinding and machining procedures, imperfections can sometimes sneak in. However, no need to fear! FPI tests are here to uncover any flaws, be it pesky cracks, irregularities, cosmetic issues or even the subtlest surface roughness.
FPI leaves no stone unturned in ensuring the highest quality testing.
Here is a video showcasing the penetrant being applied!
Why Choose FPI for your CNC Parts?

Simple cosmetic issues are nothing to be worried about in some instances, but many of the cracks and other defects can compromise the material’s use entirely. Using FPI testing can detect these flaws before they compromise the strength and overall performance of finished components down the line.
FPI testing is based upon the concept of capillary action, the process of a liquid flowing into narrow spaces (surface breaks on the material for example) without any external forces such as gravity. Once the penetrant is applied, the dwell time is used to allow this flow into cracks or breaks, revealing the defects caused in the machining process.
FPI is an excellent tool due to its efficiency, cost-effectiveness, and high sensitivity to minor flaws. FPI is compatible with a wide range of materials and provides quick results, allowing adjustments to be made early in the production process.
FPI at Central Wire Group of Companies
One common setback in the industry of CNC manufacturing and production is finding high quality testing before products go to market.
However, FPI can be done in-house by Central Wire Group of Companies, through our Loos Cableware Division ®. This unique ability to purchase CNC Machined parts and have them tested at the same facilities saves our customers time and money. Your custom cut stainless steel, copper, nickel, or other materials can be streamlined and put to market with greater efficiency, saving the hassle of sending materials for testing elsewhere after purchase.
With our testing procedures, we are all about quality assurance! FPI testing done through CWI is always performed according to ASTM E1417 standards. Our Naples facility is ISO:9001 certified and complies with AS:9100 standards, making us a leader in both manufacturing and testing services. Additionally, our parts are available for compliance with Made in USA, Made in America, and Buy America standards.
To find out more about the CNC services we provide, check out our product page hier! To enquire further about purchasing and/or FPI testing of materials, reach us by phone at (239) 643-LOOS (5667) or shoot us an email at sales@loosnaples.com
